Guide to Making Reservations on Naver
A step-by-step guide to making reservations on Naver
Should you be planning a journey to Korea, you may have noticed that Naver, a popular online platform, powers many of the reservations for restaurants and businesses. Becoming proficient in using and navigating Naver can significantly streamline your Korean adventure. If you find yourself unfamiliar with this platform or unsure about how to proceed with making reservations, fear not. Our comprehensive, step-by-step guide is here to assist you in navigating this system with ease!
What is Naver?
First things first, what is this Naver thing that we are talking about? Well, Naver is a popular South Korean online platform that is commonly dubbed as the Google of Korea. It offers a range of services, including search engine, news, email, and online booking for flights, hotels, and other travel-related services.
Creating a Naver Account


Before you can start booking on Naver, you'll need to register for an account, which is completely free. Here's how to get started:
Account Verification
With just a Naver account, you still wouldn't be able to make reservations and bookings on the platform. Only verified accounts will be able to make reservations on Naver.

Making the Booking
Now that you have a verified account, you will be able to go ahead to make the booking. Here's what you need to know:
Searching for Services and Businesses
To find the service or business you want to book, go to Naver Map and you can use the search bar and enter relevant keywords just like how you would search on Google Maps. Where possible, search using the Korean name of the business as the romanisation of the place's name might not always give you the best results. For an English interface, you can also download the Naver Map (App Store | Google Play) app on your phone.
Making the Reservation

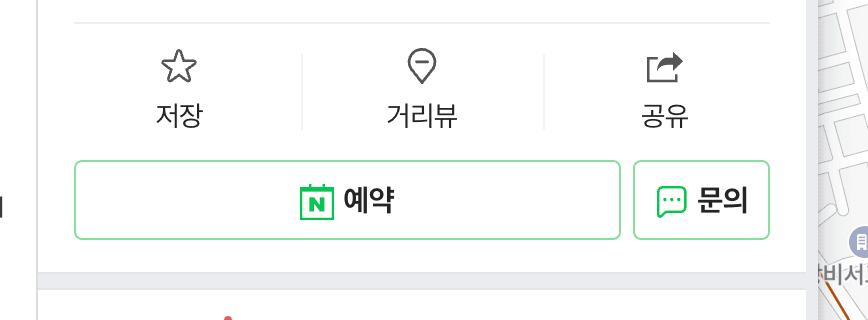
Once you find the place you want, click into the details page. On the details page, you will see a 'Book' button in the details page — simply select it to go to the booking flow. If your interface is in Korean, 예약 is the button you are looking for. Once you go into the reservation flow, select the date and time of your reservation, as well as other details necessary for the reservation (e.g. number of pax, package reserved).
Take note that the options for the reservations may be displayed in Korean, so you might need to get them translated if there is a specific service that you are looking for and you can't read Korean.
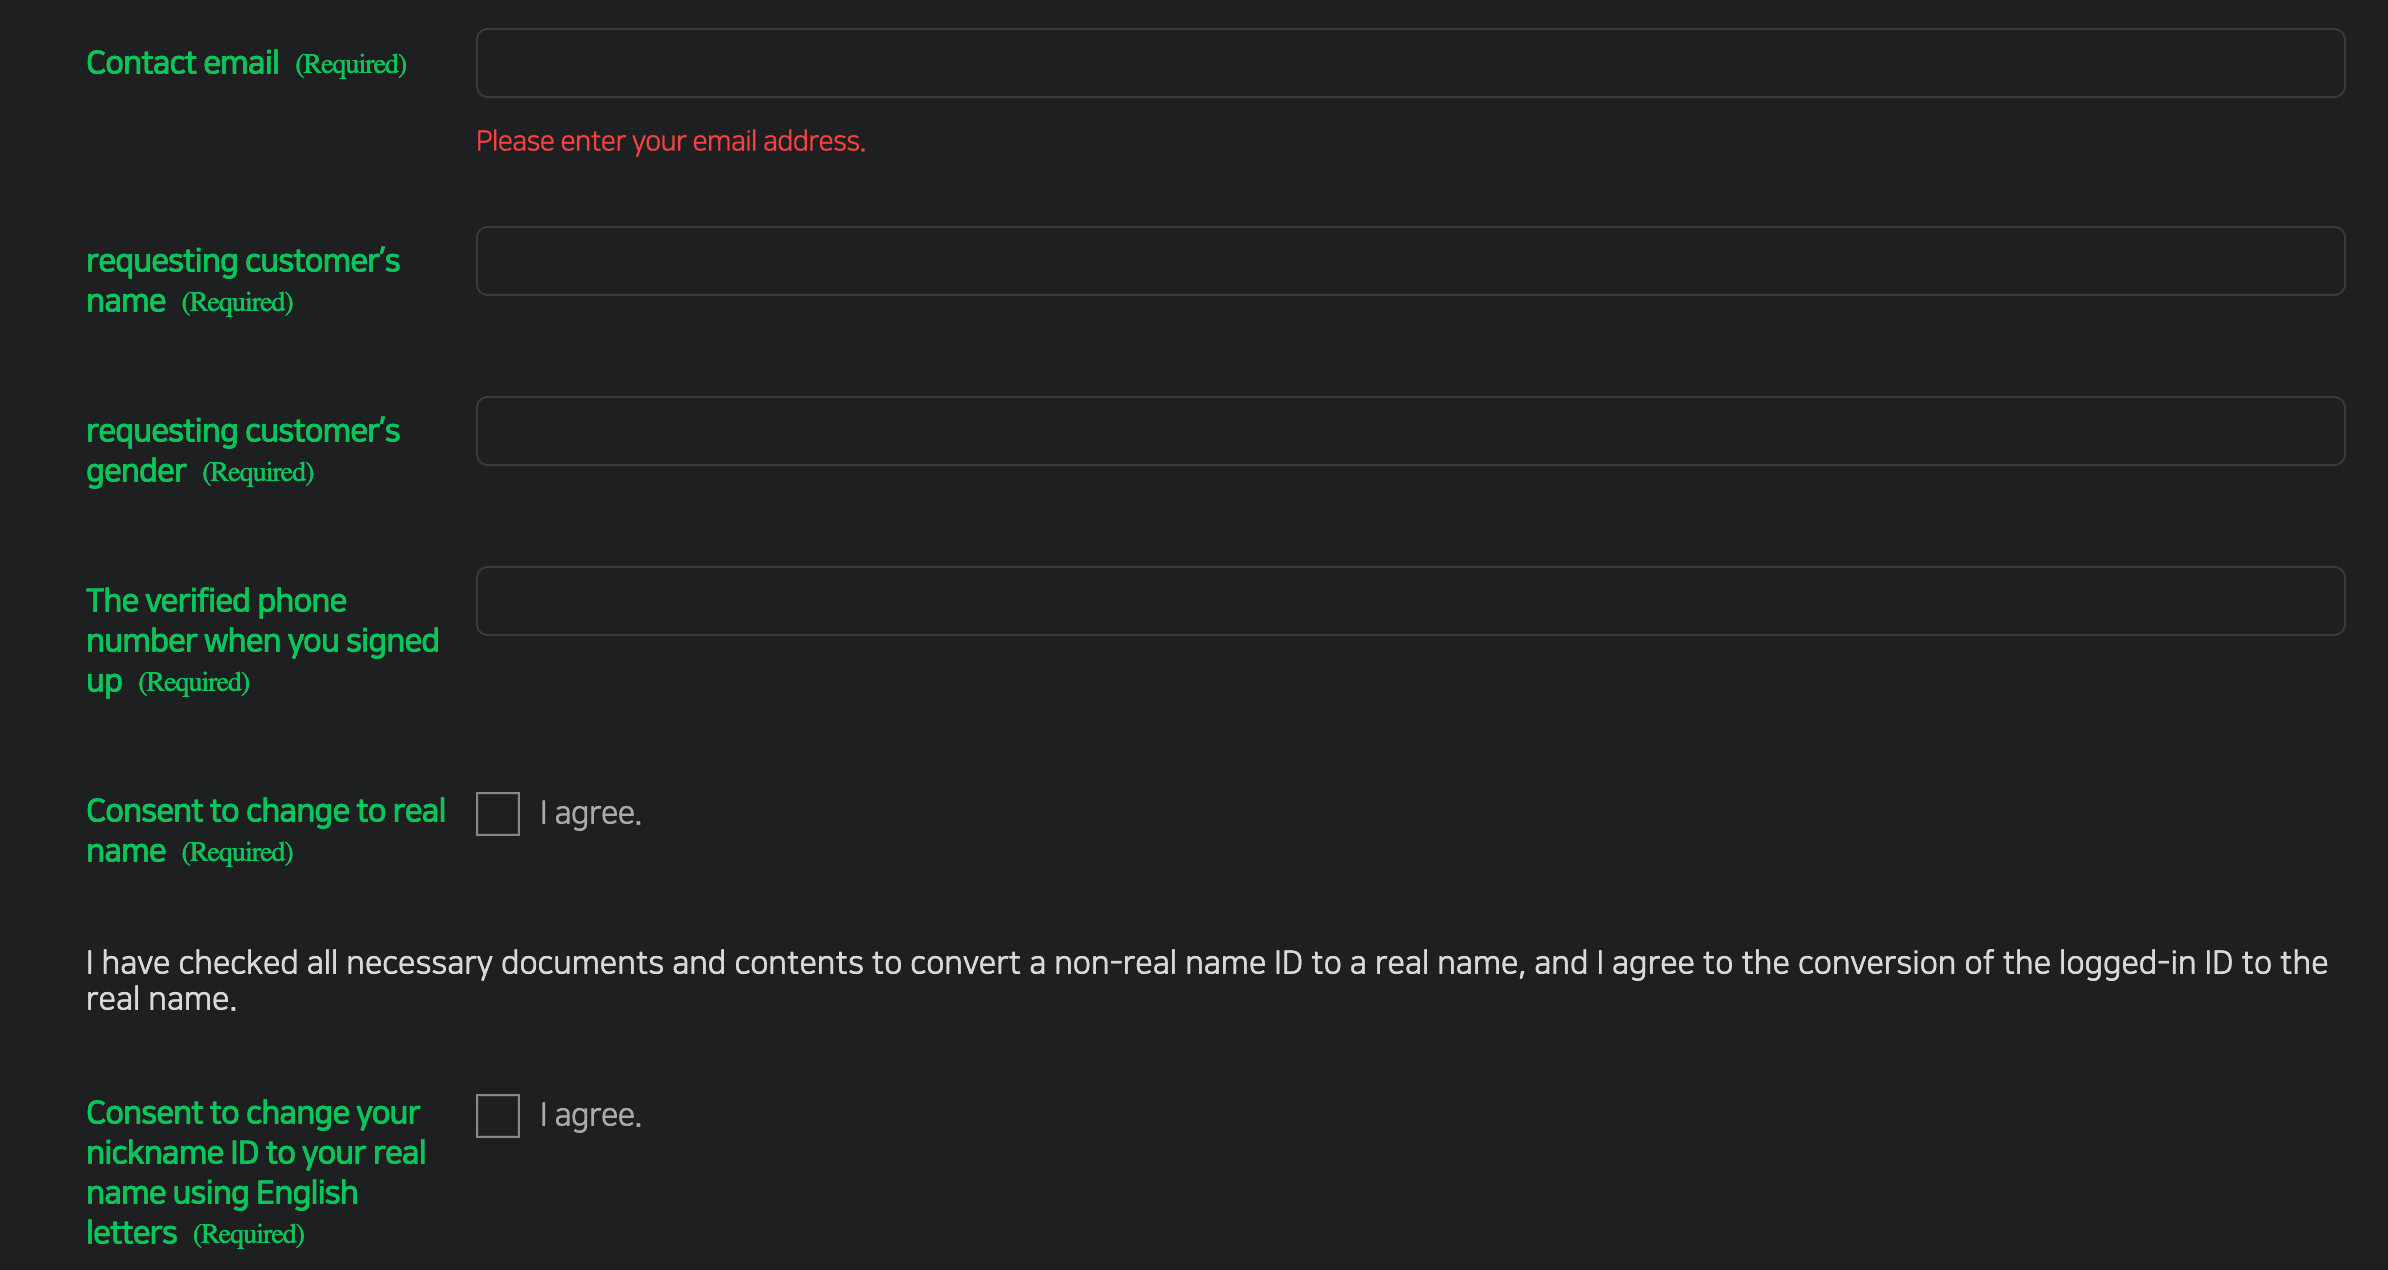
After selecting a date and time, you will be required to enter your personal information. This includes your name, phone number, and email address. It is important to ensure that the information you provide is accurate to avoid any issues later on. Depending on the business, you might also have an option to either pay for your reservation via Naver Pay.
Note that some places might require you to put in a Korean phone number - in those cases, you can try putting in the phone number of your hotel (or accommodation). Some of these businesses will contact you on the given phone number to confirm your reservation, so you might also want to give a heads up to the hotel (or your BnB) to let them know to expect such a call and to confirm your reservation on behalf.
And if you are still unable to go through with your reservation, try using the chat function on the app, or slide into their Instagram DMs to let the business know you are unable to complete the reservation to see if they are able to take your reservations separately.
Making Purchases
Aside from making reservations, Naver can also be used to purchase tickets to certain events. The flow is fairly similar to how you would make a reservation, but instead of 예약, the button you are looking for should state 예매. (It is essentially the same button though, just with a different label). Tickets purchased using Naver is often in the form of a digital ticket that you will need to show the business.
Managing Your Bookings

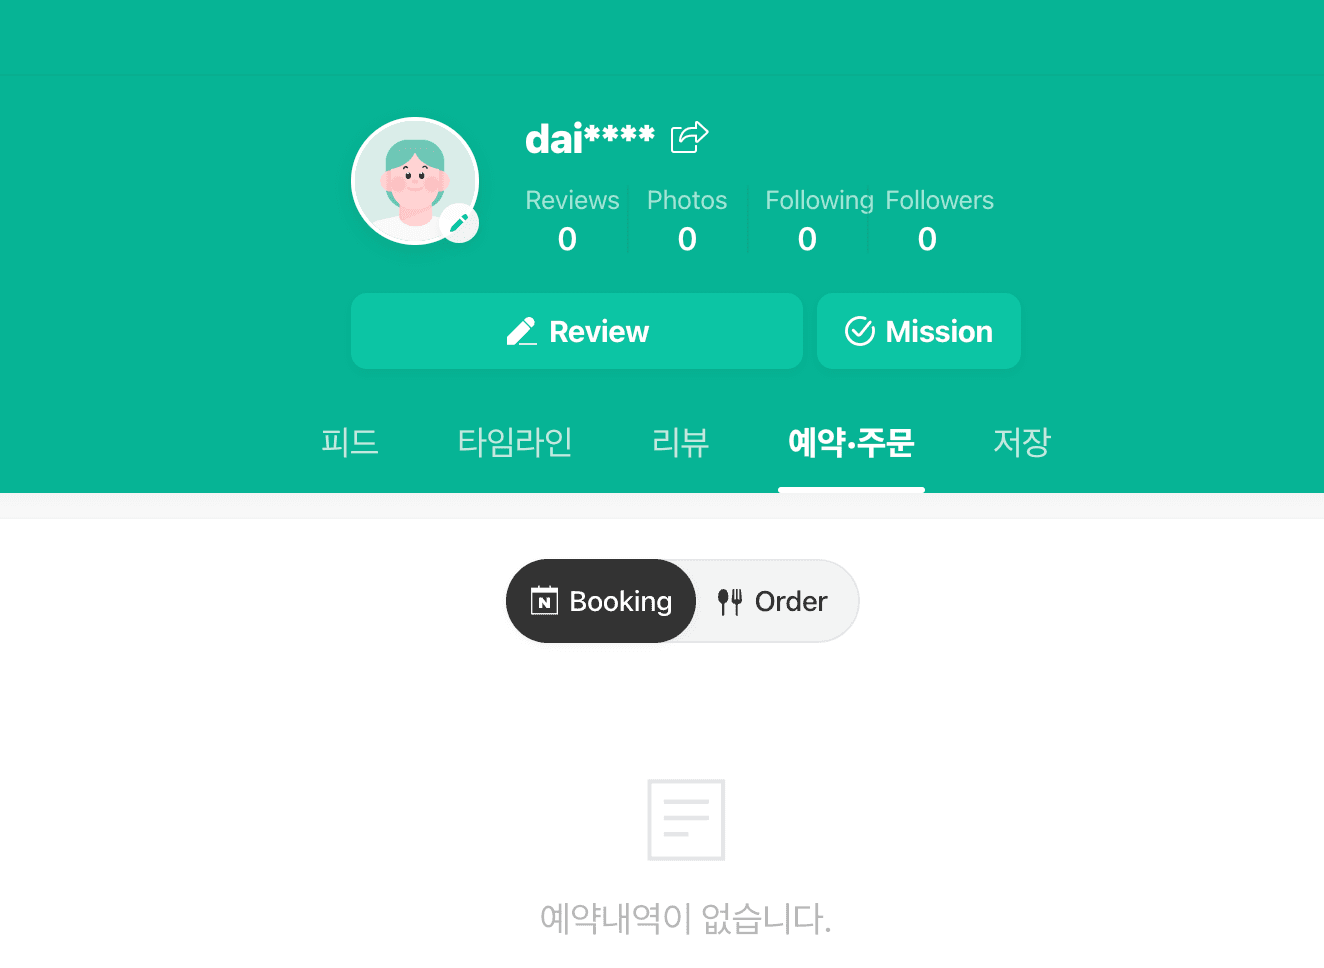
Booking a service or a business on Naver is a simple and convenient process. Once you've made a booking, you can easily manage it through your Naver account. You can view your list of bookings in your profile in the Naver Map app under the 예약.주문 tab. Or if you are on the web, you can retrieve your bookings here.
From here, you can easily modify or cancel your bookings, or request for refunds on your tickets. However, bear in mind that some services and businesses may have cancellation or refund policies, so check before you cancel.