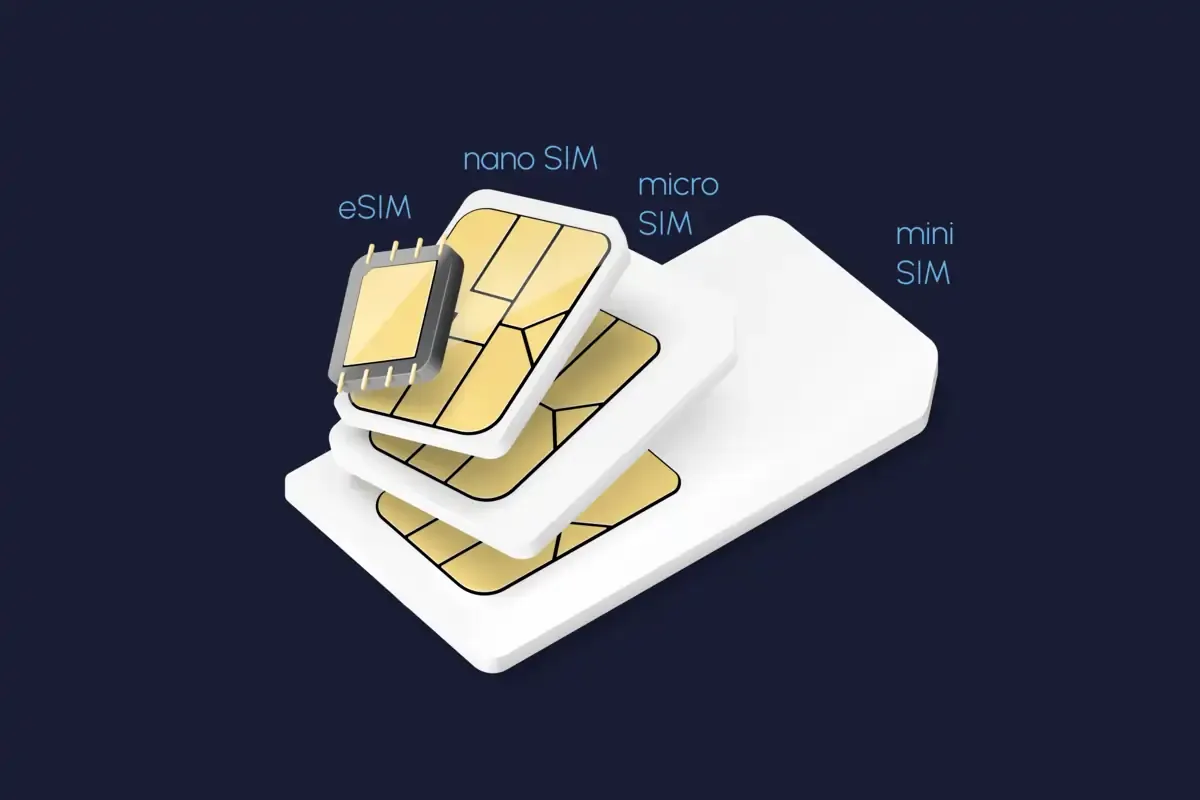
eSIM
eSIMs 101: Naming your eSIMs
Give the eSIMs a recognizable name!
With the availability of support for multi-SIMs and eSIMs in most devices today, it is very likely that you end up having many different SIM or eSIM profiles available in your device. While that is definitely convenient, it could also definitely pose some confusion if you were trying to manage your various SIM and eSIM profiles — especially if they were simply named "SIM 1", "SIM 2", and so on. One quick fix - simple yet really practical - is to name your various eSIM profiles.


Why Name Your eSIM?
If you are someone who doesn't like to go through the hassle of renaming things and prefer leaving things in their default form, renaming your eSIM profiles might sound like too much an effort. (We get it, we really do.) But here are some reasons that we hope will convince you why it is definitely worth the effort to go through the renaming process:
So that you are using the correct eSIM
Naming your eSIM helps you easily identify and manage multiple profiles if you have more than one. This is especially valuable if you frequently switch between personal and business plans, or if you travel frequently and use local eSIMs.
In the case of traveling especially, by naming your eSIMs, you will be able to clearly differentiate which eSIM profile is used for your data and connectivity when you travel, and which isn't. This will help to ensure that you don't accidentally turn on roaming for the wrong profile, which could result in exorbitant charges.

Highly rated 4.4/5.0 on Trustpilot
Save up to 50% on roaming
Fast and reliable network
So that you don't delete the wrong eSIM profile
If you decide to do a housekeeping of your eSIM profiles and remove the ones that are no longer in use, you definitely want to avoid deleting the wrong eSIM profile. Deleting an eSIM profile is pretty similar to throwing away your physical SIM card, except if you threw away a physical SIM card, you probably have a chance of getting it back by crawling through the trash. If you deleted an eSIM profile by accident, there is no way you can retrieve it back or reinstall it, unless you contact your network operator.
Naming your eSIM profiles will help you keep tab of what each eSIM is used for, so that you will be more confident that you are deleting the correcting profile when you actually do it.
Tips for naming your eSIMs
Of course, for naming of your eSIMs to effectively help you organise and manage your various profiles, the names have to be practical. If you were going to name your eSIMs things like “puppy” and “kitty”, chances are they aren't going to help much; unless, of course, they are code names for something and you are able to easily associate these names with the functions of the eSIMs.
Here are some practical tips to help you name your eSIMs:
Keep It Descriptive
Choose names that clearly represent the purpose or region of the eSIM. For instance, if you have a plan for business use, name it "Business eSIM" or if it's for your European travels, name it "Europe Roaming."
Avoid Personal Information
While personalization is encouraged, avoid using sensitive information like your full name, birthdate, or address as eSIM names. This helps protect your privacy.
Be Consistent
If you have multiple eSIMs, maintain a consistent naming convention. This makes it easier to organize and manage them. For example, you could use a format like "Region - Purpose" (e.g., "Asia - Work" or "USA - Vacation").
Consider Color Coding
If your device allows it, you can assign different colors to your eSIMs for visual distinction. Combine this with meaningful names for a highly organized setup.
How to name your eSIMs?
It's fairly simple to name your eSIMs.
On iOS
- Go to Settings > Cellular (or Mobile Data)
- Select the eSIM profile that you want to name
- Select Mobile Plan Label
- Under Custom Label, enter the name of the eSIM
On Android
- Go to Settings > Connections > SIM Manager
- Select the eSIM profile that you want to name
- Select Name
- Enter the name of the eSIM