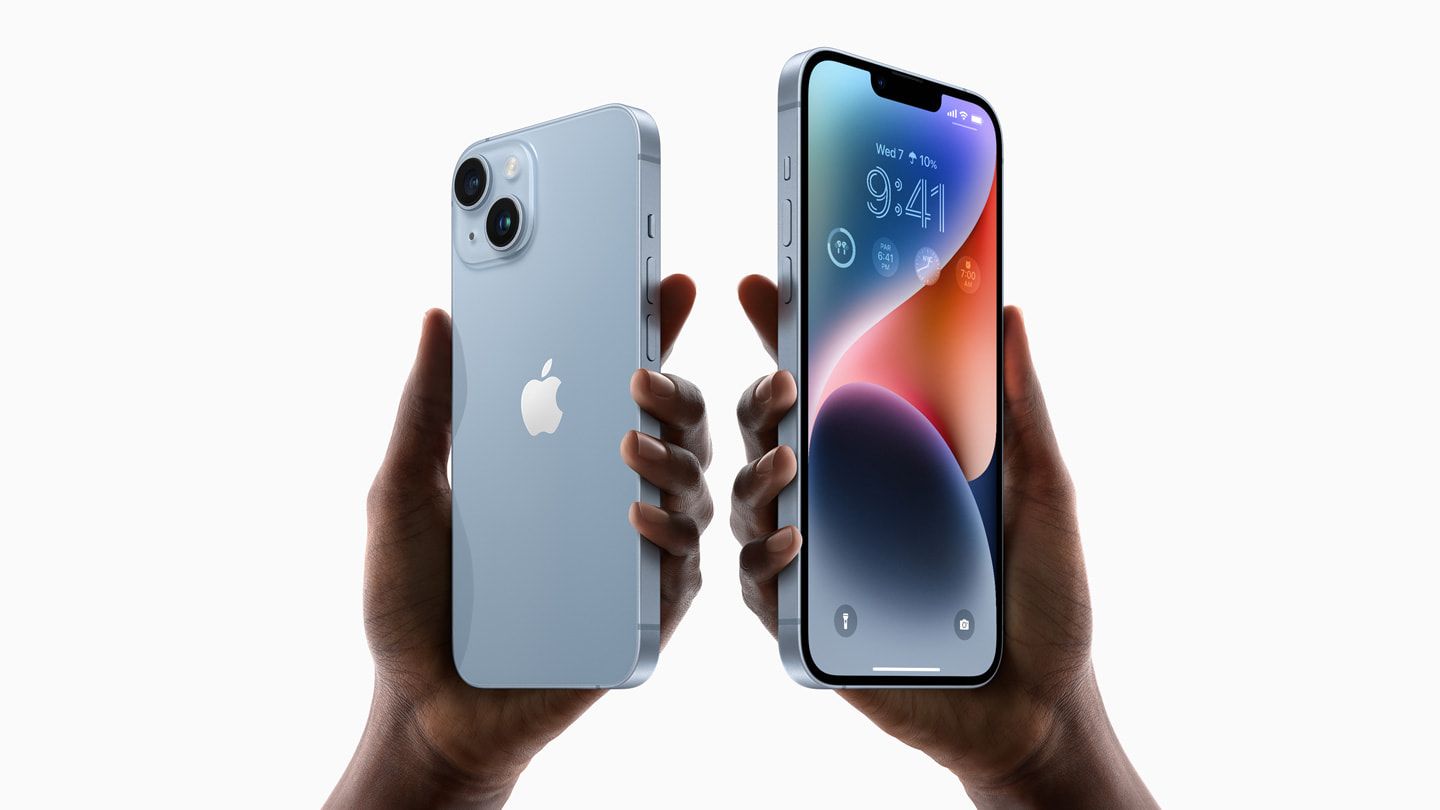
eSIM
How do I install eSIM? Is it complicated?
Spoiler: no it’s not! Nothing could be easier.
The funny thing is, eSIMs are the easiest thing in the world to install. Yet, we hear it often enough from our customers all over the globe: “how do I install my Nomad eSIM?” or “I’ve installed the eSIM, now what?” Actually there are several steps involved in the eSIM installation process. But fear not, it’s super easy and takes just 5 minutes to install. That said, if you’ve already installed your eSIM but it still isn’t working, you might be dealing with a PDP authentication failure or one of several other common setup issues — here's what to do when your eSIM doesn’t work.
Here we will break down the steps, and get you connected right away! For a more general introduction to eSIM, check out our other article.

Highly rated 4.4/5.0 on Trustpilot
Save up to 50% on roaming
Fast and reliable network
Before installing (or, before buying) - just check: is my phone compatible with eSIM?
It might sound obvious, but of course you aren’t going to be installing any eSIMs in a hurry if your phone simply is not an eSIM-compatible, unlocked phone. But fear not - these days most of the flagship models of major manufacturers support eSIM, so don’t get left behind!
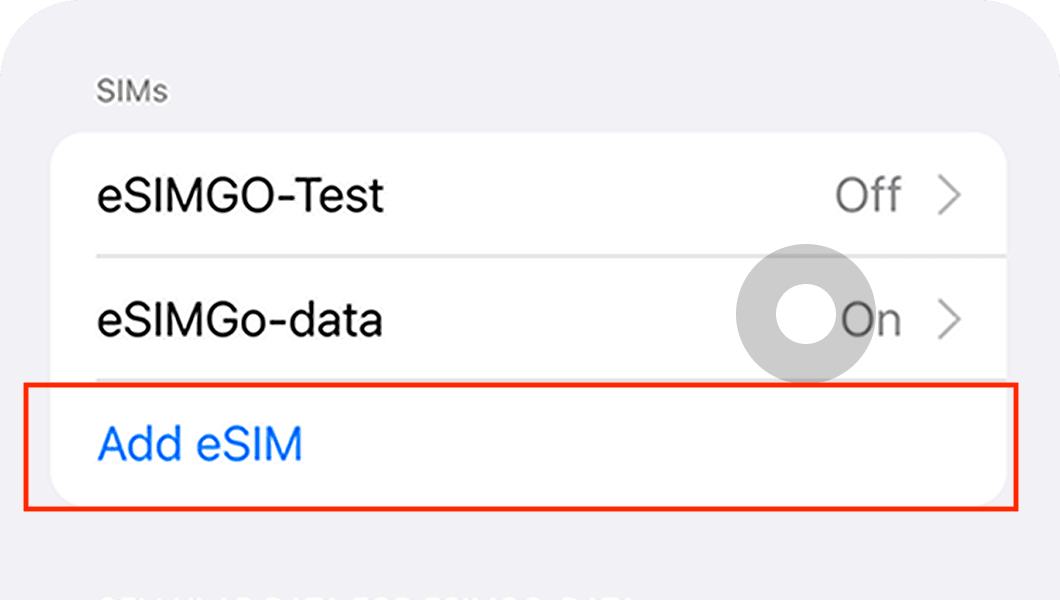
To check if your phone is eSIM compatible, go to your phone settings (SIM manager on Android or Cellular / Network on iOS) and check if there is an option to 'Add an eSIM'. If you have the option to 'Add an eSIM', your device is eSIM-compatible.

Check here for the latest and most updated list of eSIM compatible smartphones. New eSIM-compatible models are released every quarter so check back often.
Automatic eSIM installation
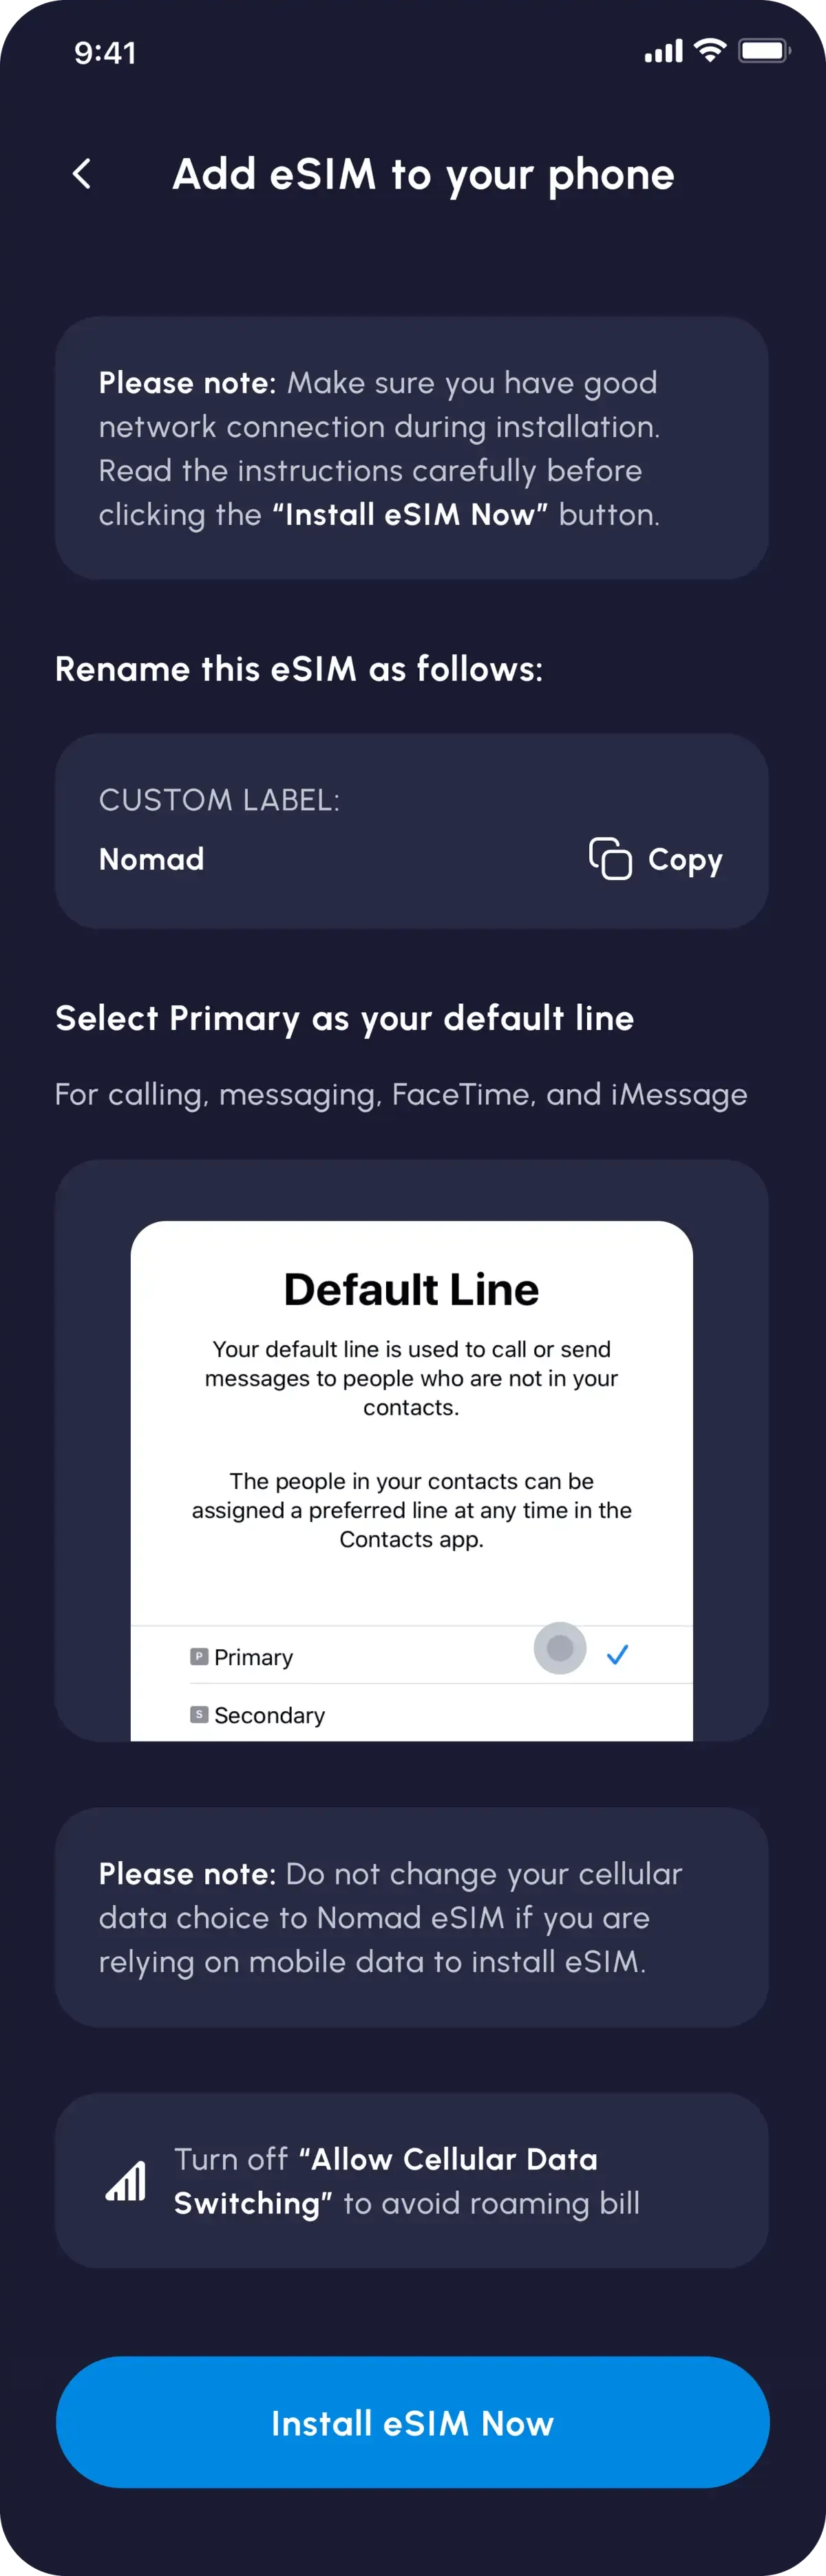
If you have purchased a Nomad eSIM using an eSIM-compatible device, you will be prompted to install your eSIM upon successful purchase of your eSIM. Simply select the option 'Add automatically' and follow the on-screen instructions to install your eSIM.
We recommend installing the eSIM soon after purchasing the plan, to make sure you can start using the data when you need it. However, if you do not want to install it yet, you can easily go back to the app to install your eSIM at a later time.
- Go to the Manage eSIM page in your Nomad iOS or Android app
- Select the eSIM you want to install
- Select 'Installation Instructions'
- Choose the option to 'Add automatically'
- Select 'Install eSIM Now'
- Follow the on-screen instructions

Manually Installing your eSIM - 2 Methods
If you are unable to install your eSIM automatically, or if you had purchased your eSIM on a separate device, you can still install your eSIM manually.
There are a few ways to install your eSIM Data Plan, and Nomad has tried to streamline the process as much as possible. As with all eSIM providers - not just Nomad - there are 2 options to install your eSIM:
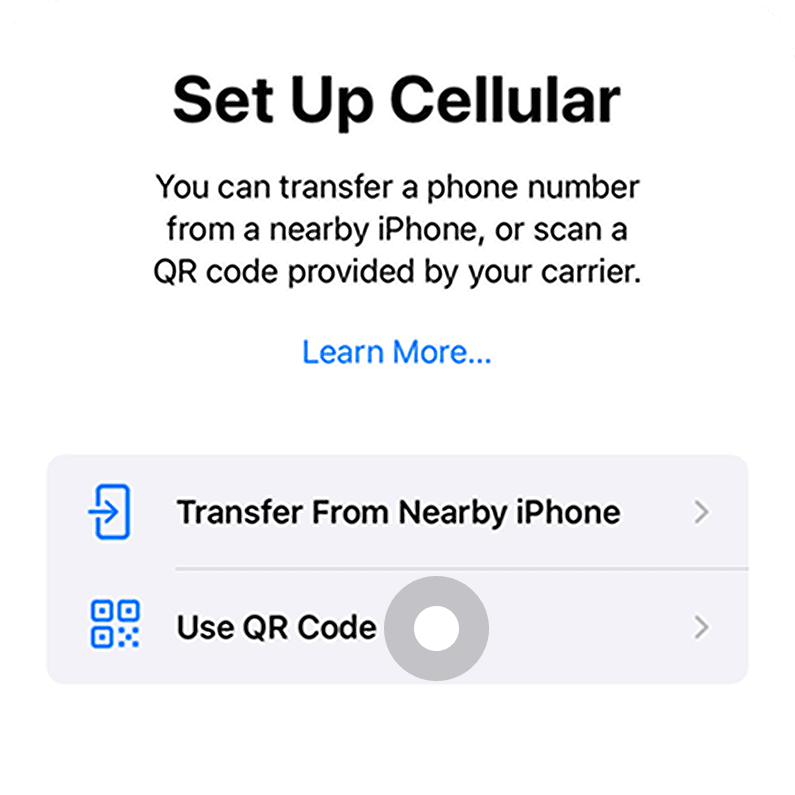
1. Install eSIM via QR Code (recommended)
The recommended way to install your eSIM is through the QR code we provided via in-app instruction and email (if you’re not on Nomad, most providers will email you the instructions).
a. On iOS: Go to Settings > Cellular (or Mobile Data) > Add Cellular Plan (or Add Data Plan), then scan the QR code

b. On Android (Google Pixel): Go to Settings > Network and Internet > SIMs > Add More> Download a SIM instead, and then scan the QR code
c. On Android (Samsung): Go to Settings > Connections > SIM Card Manager > Add Mobile Plan > Scan QR code
2. Install eSIM via Manual Input
Though not recommended, for various reasons you may prefer to install the eSIM through manual input. This is possible on iOS devices and some Android devices.
a. Simply to go Settings > Cellular > Add Cellular Plan and click "Enter Details manually" on the bottom.
b. Enter the information provided in your Nomad in-app instruction or purchase email.
Useful Links
Looking for device-specific instructions to installing your eSIM? These articles might help:
- How to install an eSIM on iPhone
- How to install an eSIM on iPad
- How to install an eSIM on Samsung Galaxy phones
- How to install an eSIM on Xiaomi Devices
- How to install an eSIM on Google Pixel Devices
- How to install an eSIM on Oppo Devices
- How to install an eSIM on your Windows Laptop
Activating Your eSIM
After you have installed the eSIM, the eSIM profile is now added to your device. To use your eSIM, you will need to activate it. Depending on the provider, manual activation may be required.
Check the eSIM that you have purchased in the Nomad app if manual activation is required. If manual activation is required, we recommend that you activate it right before you fly when you are still connected to your home network, as internet connectivity is required to activate your eSIM profile.
If you do not see the button to manually activate your eSIM, it means your eSIM will be automatically activated after you arrive at your destination and connect to the network.
Get Connected
When you are arrive at your destination, simply go to your phone’s settings and turn the Nomad eSIM on. Remember to also ensure that Data Roaming is turned on for your Nomad eSIM.
Troubleshooting common issues in eSIM Installation & Activation
If you have trouble installing eSIM, activating your plan or using the data, please refer to this article on common issues that you might face with eSIM installation and activation.
Bonus: Adding More Data
If you already have an active eSIM installed, you can seamlessly add more data to it without the hassle of installing another eSIM. Simply go to eSIM page in Nomad app, click "Add more data" and enjoy connectivity without interruption. Please note that this method only works if you data is not used up or expired, so make sure to add more data in advance. The add-on will automatically turn on once data from your current plan is used up or expires.
Final Thoughts
Hopefully this has been a helpful guide on how to install an eSIM and how to top-up data. See how easy that was? When was the last time it took you just 5 minutes to install… anything? Don’t wait and join the eSIM revolution with Nomad today. As always, we wish you the best on your travels.