eSIM, Device Compatibility
How to Install eSIM on iPhone (Including iPhone 17): Step-by-Step Guide
Step-by-step guide to installing and activating eSIM on iPhone, including the latest iPhone 17 models.
TL;DR: Installing an eSIM on iPhone is quick and digital. Most modern iPhones, including the latest iPhone 17 models, support eSIM. You can add an eSIM via QR code, manual entry, carrier app, or transfer from another iPhone. With iPhone 17 moving further into an eSIM-only future, knowing how to set up and activate an eSIM is essential for seamless global connectivity.

Is Your iPhone Compatible with eSIM?
Before you purchase an eSIM plan, it’s essential to confirm that your iPhone supports eSIM technology and is not locked to a specific carrier. Most modern iPhones are eSIM-compatible, and with the release of the iPhone 17, Apple continues to push the boundaries of this technology.
To use an eSIM, your iPhone must meet the following requirements:
- eSIM-ready hardware: Your iPhone needs an Embedded Identity Document (EID) to support eSIM.
- Carrier unlocked: If your iPhone is carrier-locked, you might not be able to activate eSIMs from other providers.
iPhone eSIM Compatibility Breakdown:
Before proceeding, it’s always a good idea to check your device’s eSIM compatibility. Apple has steadily expanded support, and by the iPhone 17, eSIM has become the standard in more regions. Here’s a quick reference for recent models:
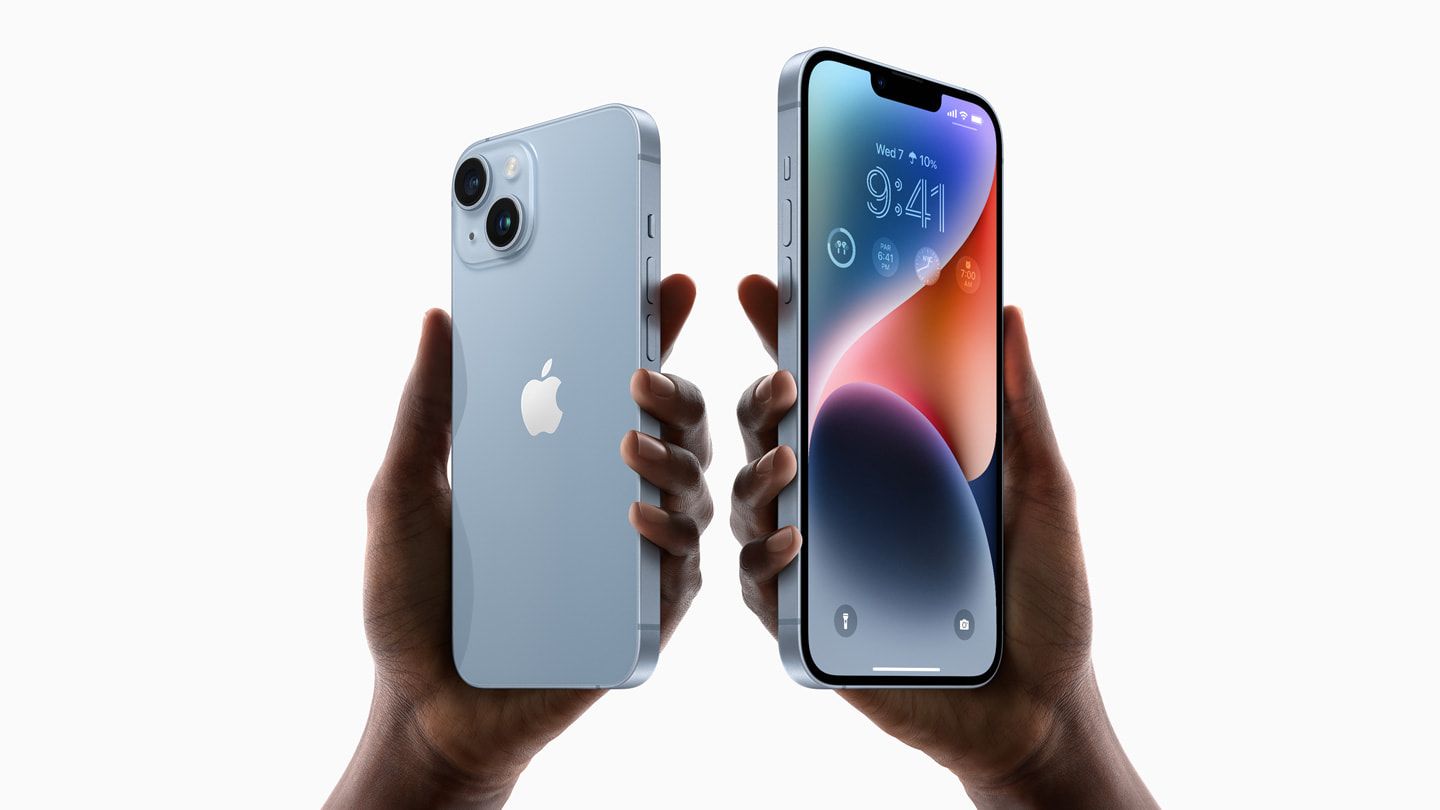
- iPhone 17 / 17 Air / 17 Pro / 17 Pro Max
- iPhone 16 / 16 Plus / Pro / Pro Max
- iPhone 15 / 15 Plus / Pro / Pro Max
- iPhone 14 / 14 Plus / Pro / Pro Max
- iPhone 13 / 13 mini / Pro / Pro Max
Most of the older iPhone models (12, 11, XS, XR) also support eSIM, and you can refer to the full list of device compatibility for reference.
👉 If you’re new to eSIMs, start with our primer on what an eSIM is.
Preparing for eSIM Installation on Your iPhone
To avoid setup hiccups, check these first:
Stable internet connection: A reliable Wi-Fi or cellular connection is essential for downloading and activating your eSIM profile.
eSIM activation details: Have your QR code or manual activation details (SM-DP+ address and activation code) readily available.
Latest iOS update: Software updates often include important bug fixes and improvements for eSIM functionality, which can prevent potential compatibility issues.
How to Set Up eSIM on iPhone: Step-by-Step Guide
There are three main ways to install an eSIM. These steps apply across iPhone models, including the new iPhone 17 lineup.
Method 1: Automatic Installation (Carrier App or Direct Link)
- Open your provider’s app (e.g., the Nomad iOS app) → select your eSIM → tap Install eSIM Now.
- Or, tap the direct activation link sent by your provider.

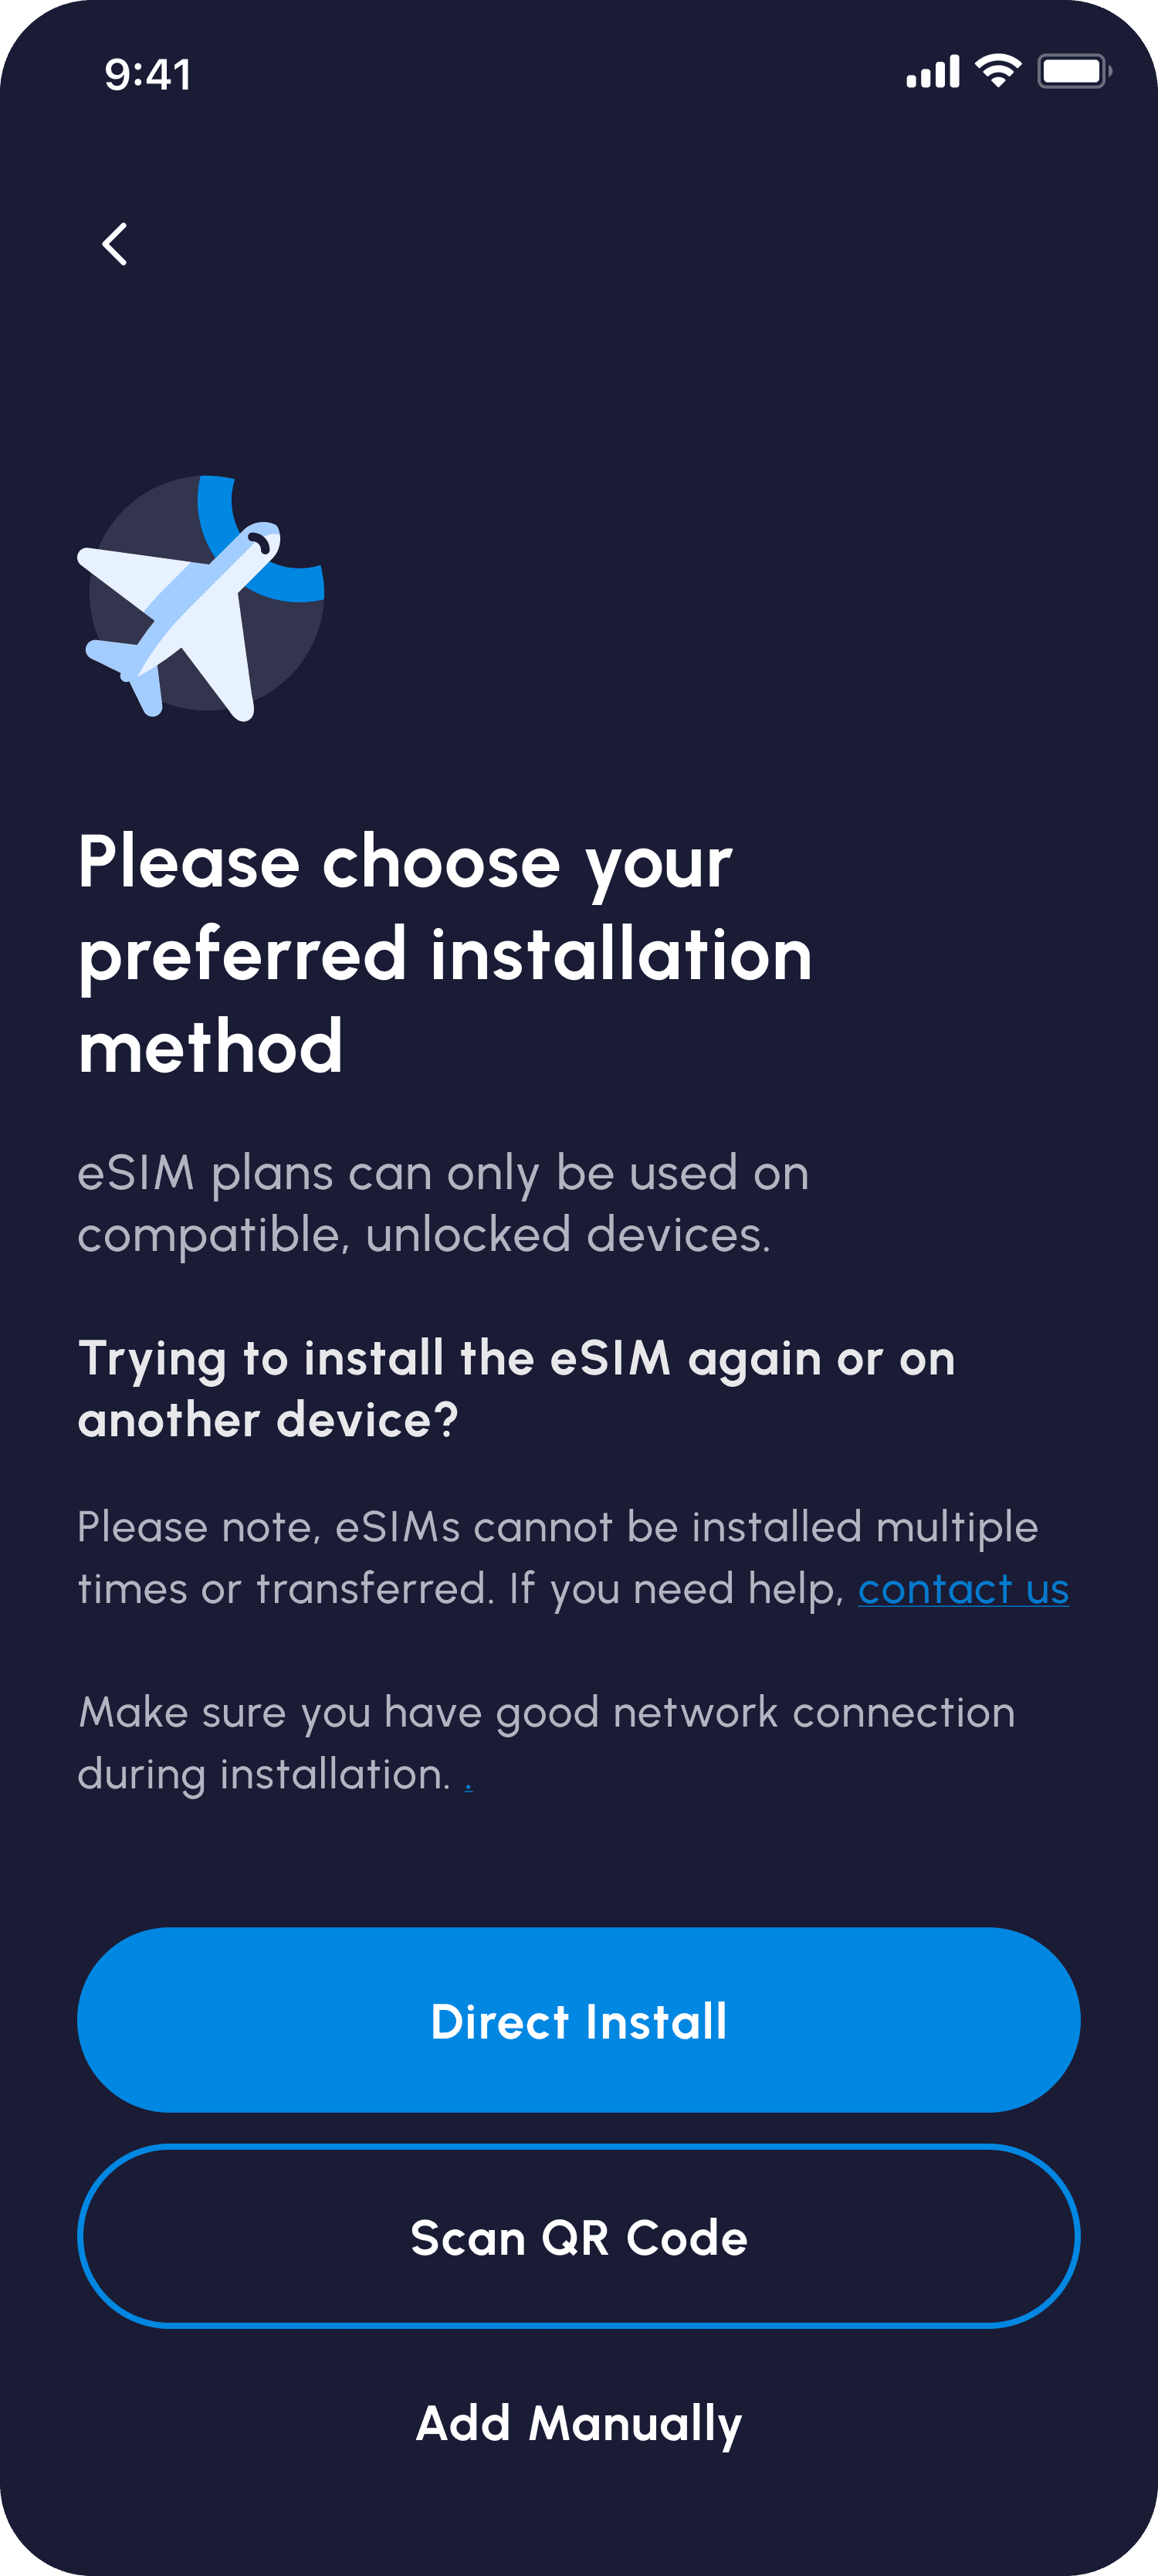
Method 2: QR Code Installation
- Go to Settings > Cellular > Add eSIM.
- Choose Use QR Code.
- Scan the QR code from your eSIM provider.
- Follow the prompts until the line is added and activated.
👉 After installation, your number doesn’t change. Here’s how installing an eSIM affects your phone number.
Method 3: Manual Installation
- Go to Settings > Cellular > Add eSIM.
- Tap Enter Details Manually.
- Input the SM-DP+ address and activation code from your provider.
- Complete setup by following on-screen instructions.
Activating Your eSIM on iPhone: Getting Connected
Once added, you need to activate and configure your iPhone for proper use:

- Automatic activation: Many travel eSIMs (like Nomad eSIM) activate as soon as you land at your destination and connect to a local network.
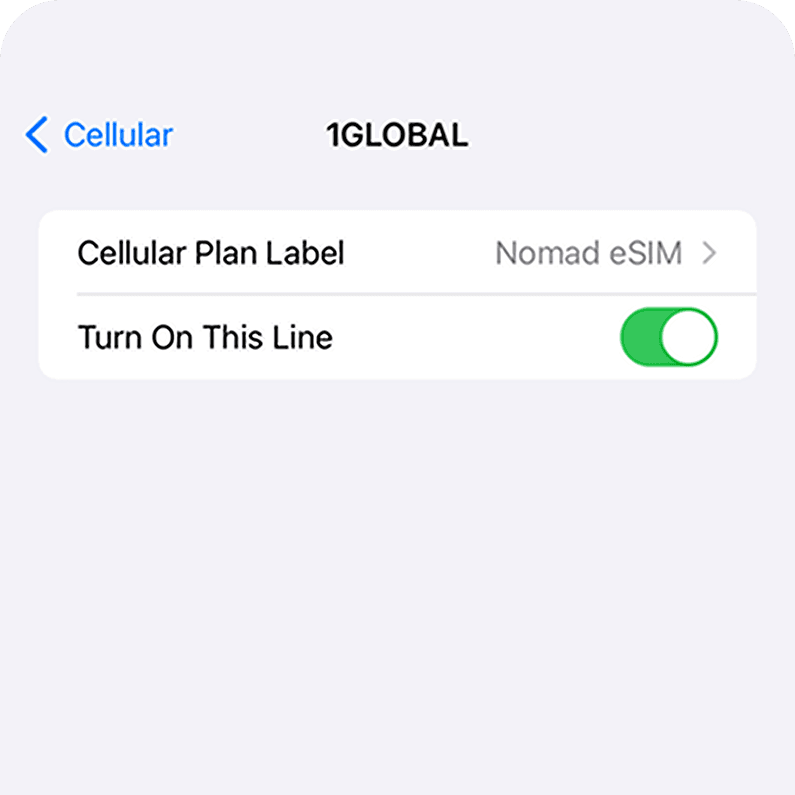
- Set default line: Go to Settings > Cellular > Default Line. Keep your home number for calls/SMS, and assign the travel eSIM for data.
- Turn off “Allow Cellular Data Switching”: Prevents your iPhone from falling back on your primary line’s roaming charges.
- Label your eSIMs: Name them “Personal,” “Business,” or “Travel: Japan” for easy switching.
👉 Need to reset? Here’s how to reset your eSIM on iPhone.
Troubleshooting Common Issues
Even with iPhone 17, occasional glitches happen. If your eSIM isn’t working as intended:
If you’re abroad and can’t connect, here’s what to do when your eSIM isn’t working while traveling.
Final Tips
- Always install your travel eSIM before your flight while on Wi-Fi.
- Double-check data allowance and validity before your trip.
- Keep Nomad eSIM ’s 24/7 support handy if setup doesn’t go smoothly.
Ready to go? Browse Nomad eSIM plans for coverage in over 200 destinations and connect in minutes.
More useful eSIM installation and activation guides
Want to learn how to install an eSIM on Androids or other devices? Check out these helpful guides: